Remotely Advancing iPad Keynote Slides
Update: January 2015 The Satechi remote does not work with iOS 8. This may no longer be the remote you are looking for.
The last few months I've been giving presentations with my iPad and using a remote to trigger slides. I'm not talking about Apple's Keynote Remote, which feels fiddly to me, but an actual clicker. I push the button and the next slide or animation triggers. It even works with the iPad's dock connector connected to a projector. This means I can now walk in a room with an iPad mini and a remote and give a presentation. When I spoke at the Omni Group event last month, I had several people asking me how I did it. The trick to all of this is the Satechi Bluetooth Smart Pointer Mobile Presenter (Amazon affiliate link).
I paid $45 for mine on Amazon. As a remote, it really isn't anything special. It does have a power slider so you can turn it off and be assured it won't run down the battery in your bag. However, it charges through USB so if it dies, you need to plug it in. (You can't just replace the batteries with a few spare AAs.) The laser is red (I prefer the more visible green.) It is also not particularly ergonomic. The buttons are flush with the surface so you can't always figure out exactly where your thumb is without looking down at the remote. My Kensington remote is better in almost every way except for one: It can't advance iPad Keynote slides. Despite all of issues surrounding the Satechi's design, it finally lets me remotely trigger Keynote slides on my iPad.
The Trick
To make this work, Satechi had to get creative. There is no easy way to tell Keynote via Bluetooth to trigger slides so instead they used the iPad's accessibility features to pull it off. There are few steps:
1. Pair the Remote
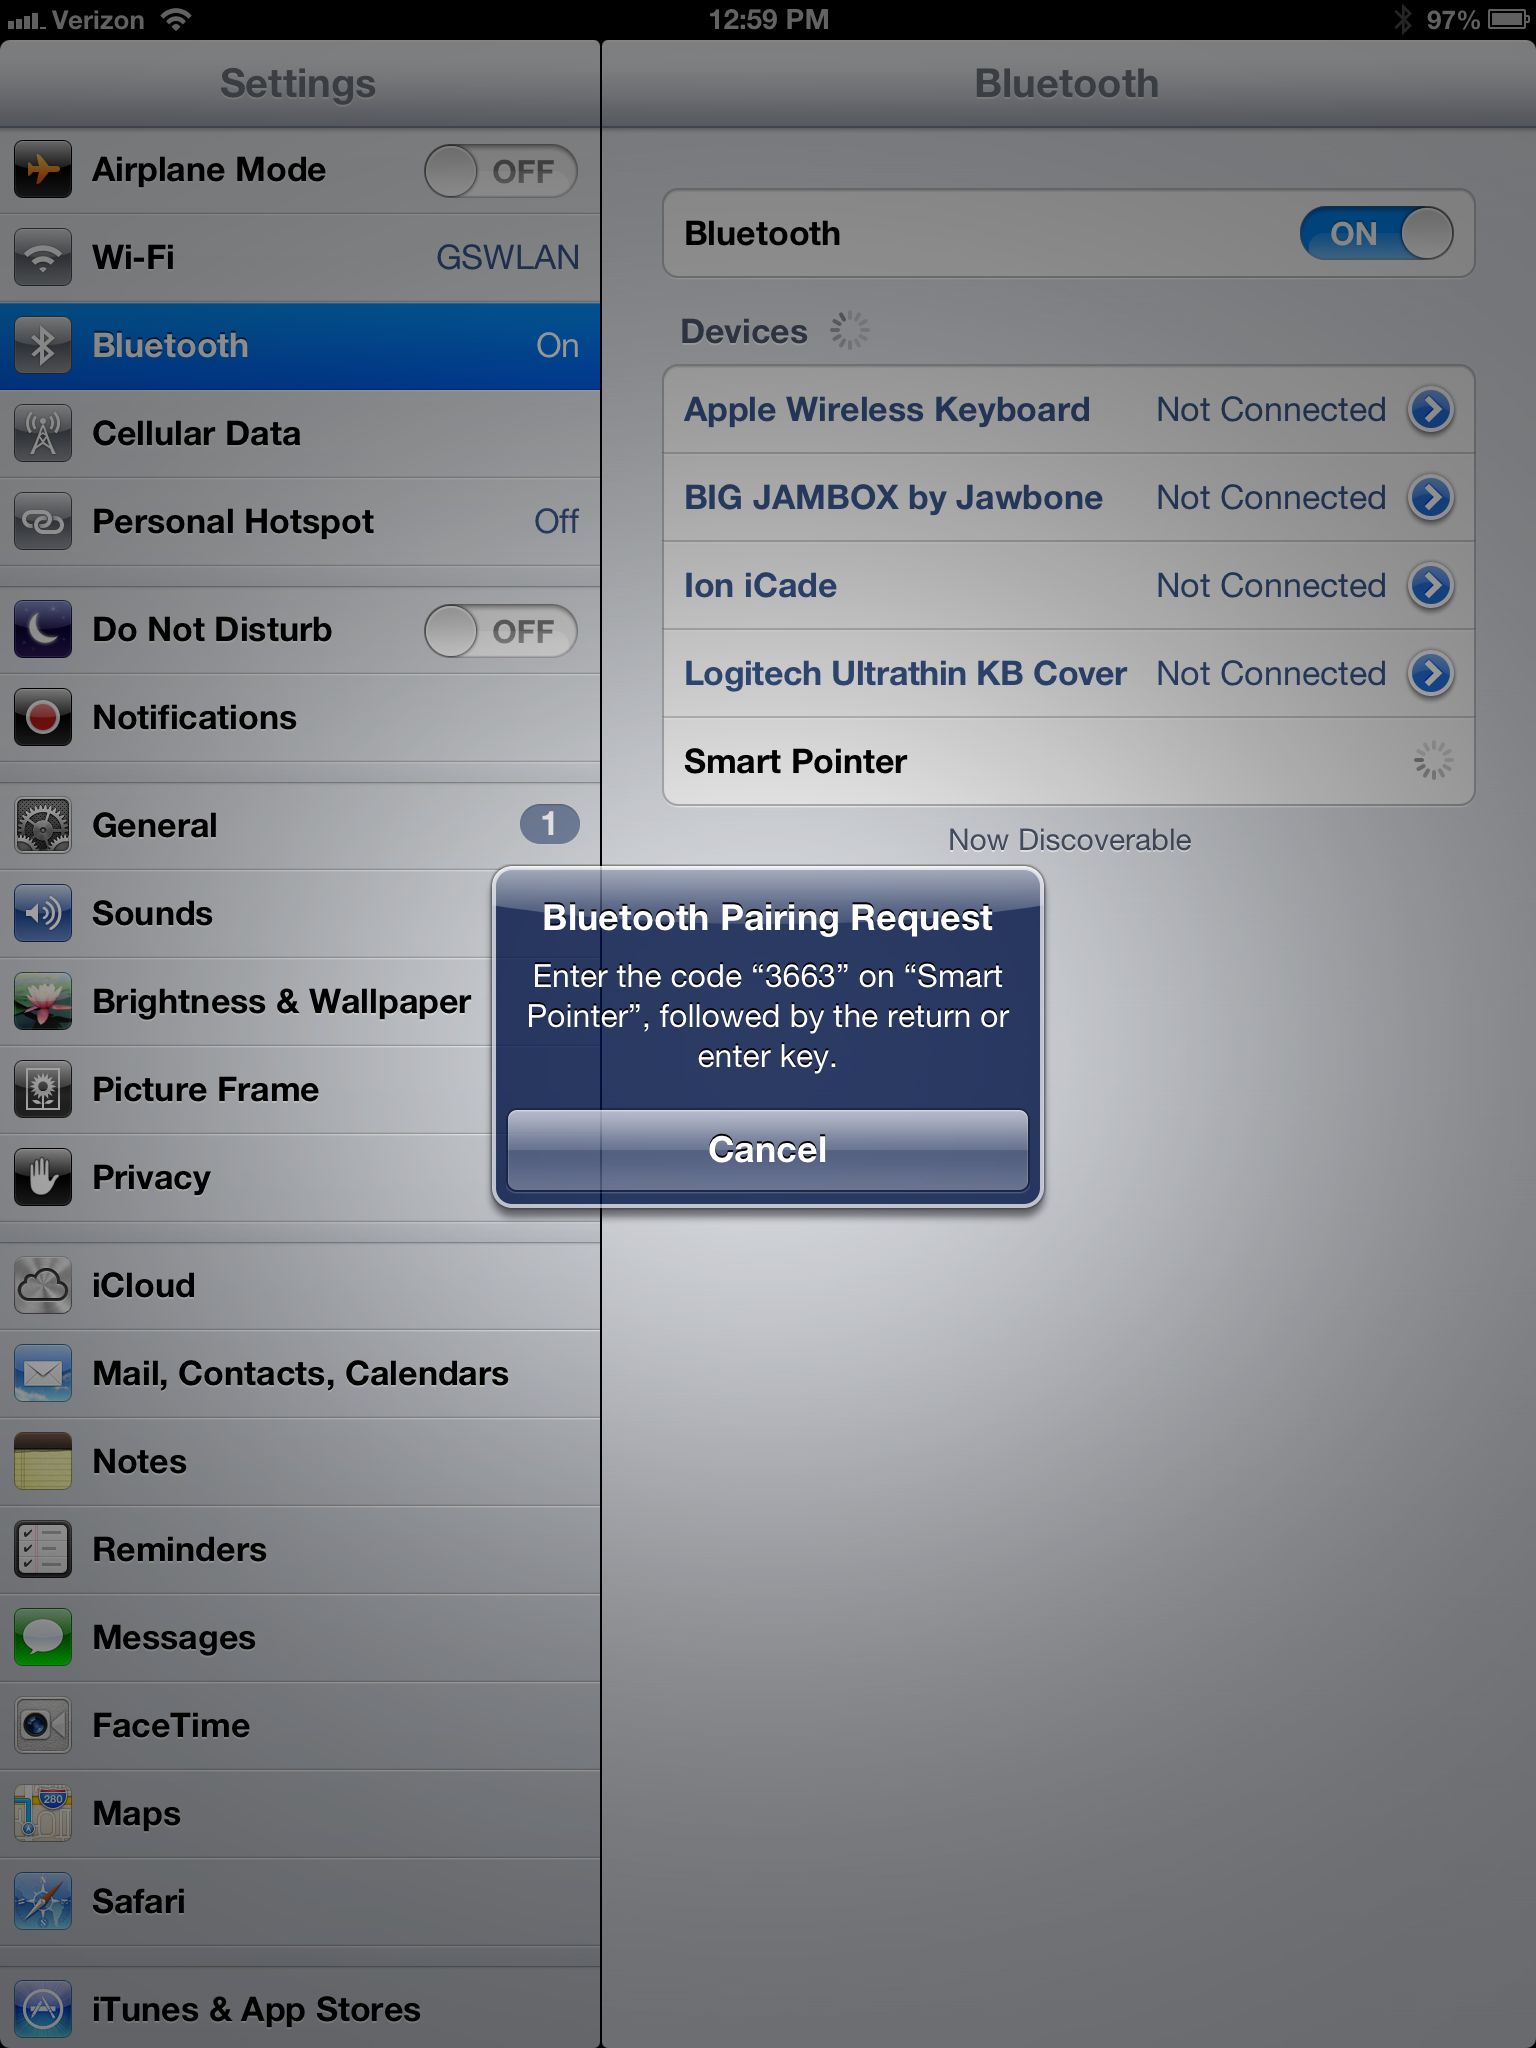
It is a Bluetooth device and you need to hook it into your iPad. This works just like any other Bluetooth pairing. In this case, a code is entered from a set of numbered buttons found under the Satechi's sliding face.
2. Enable VoiceOver
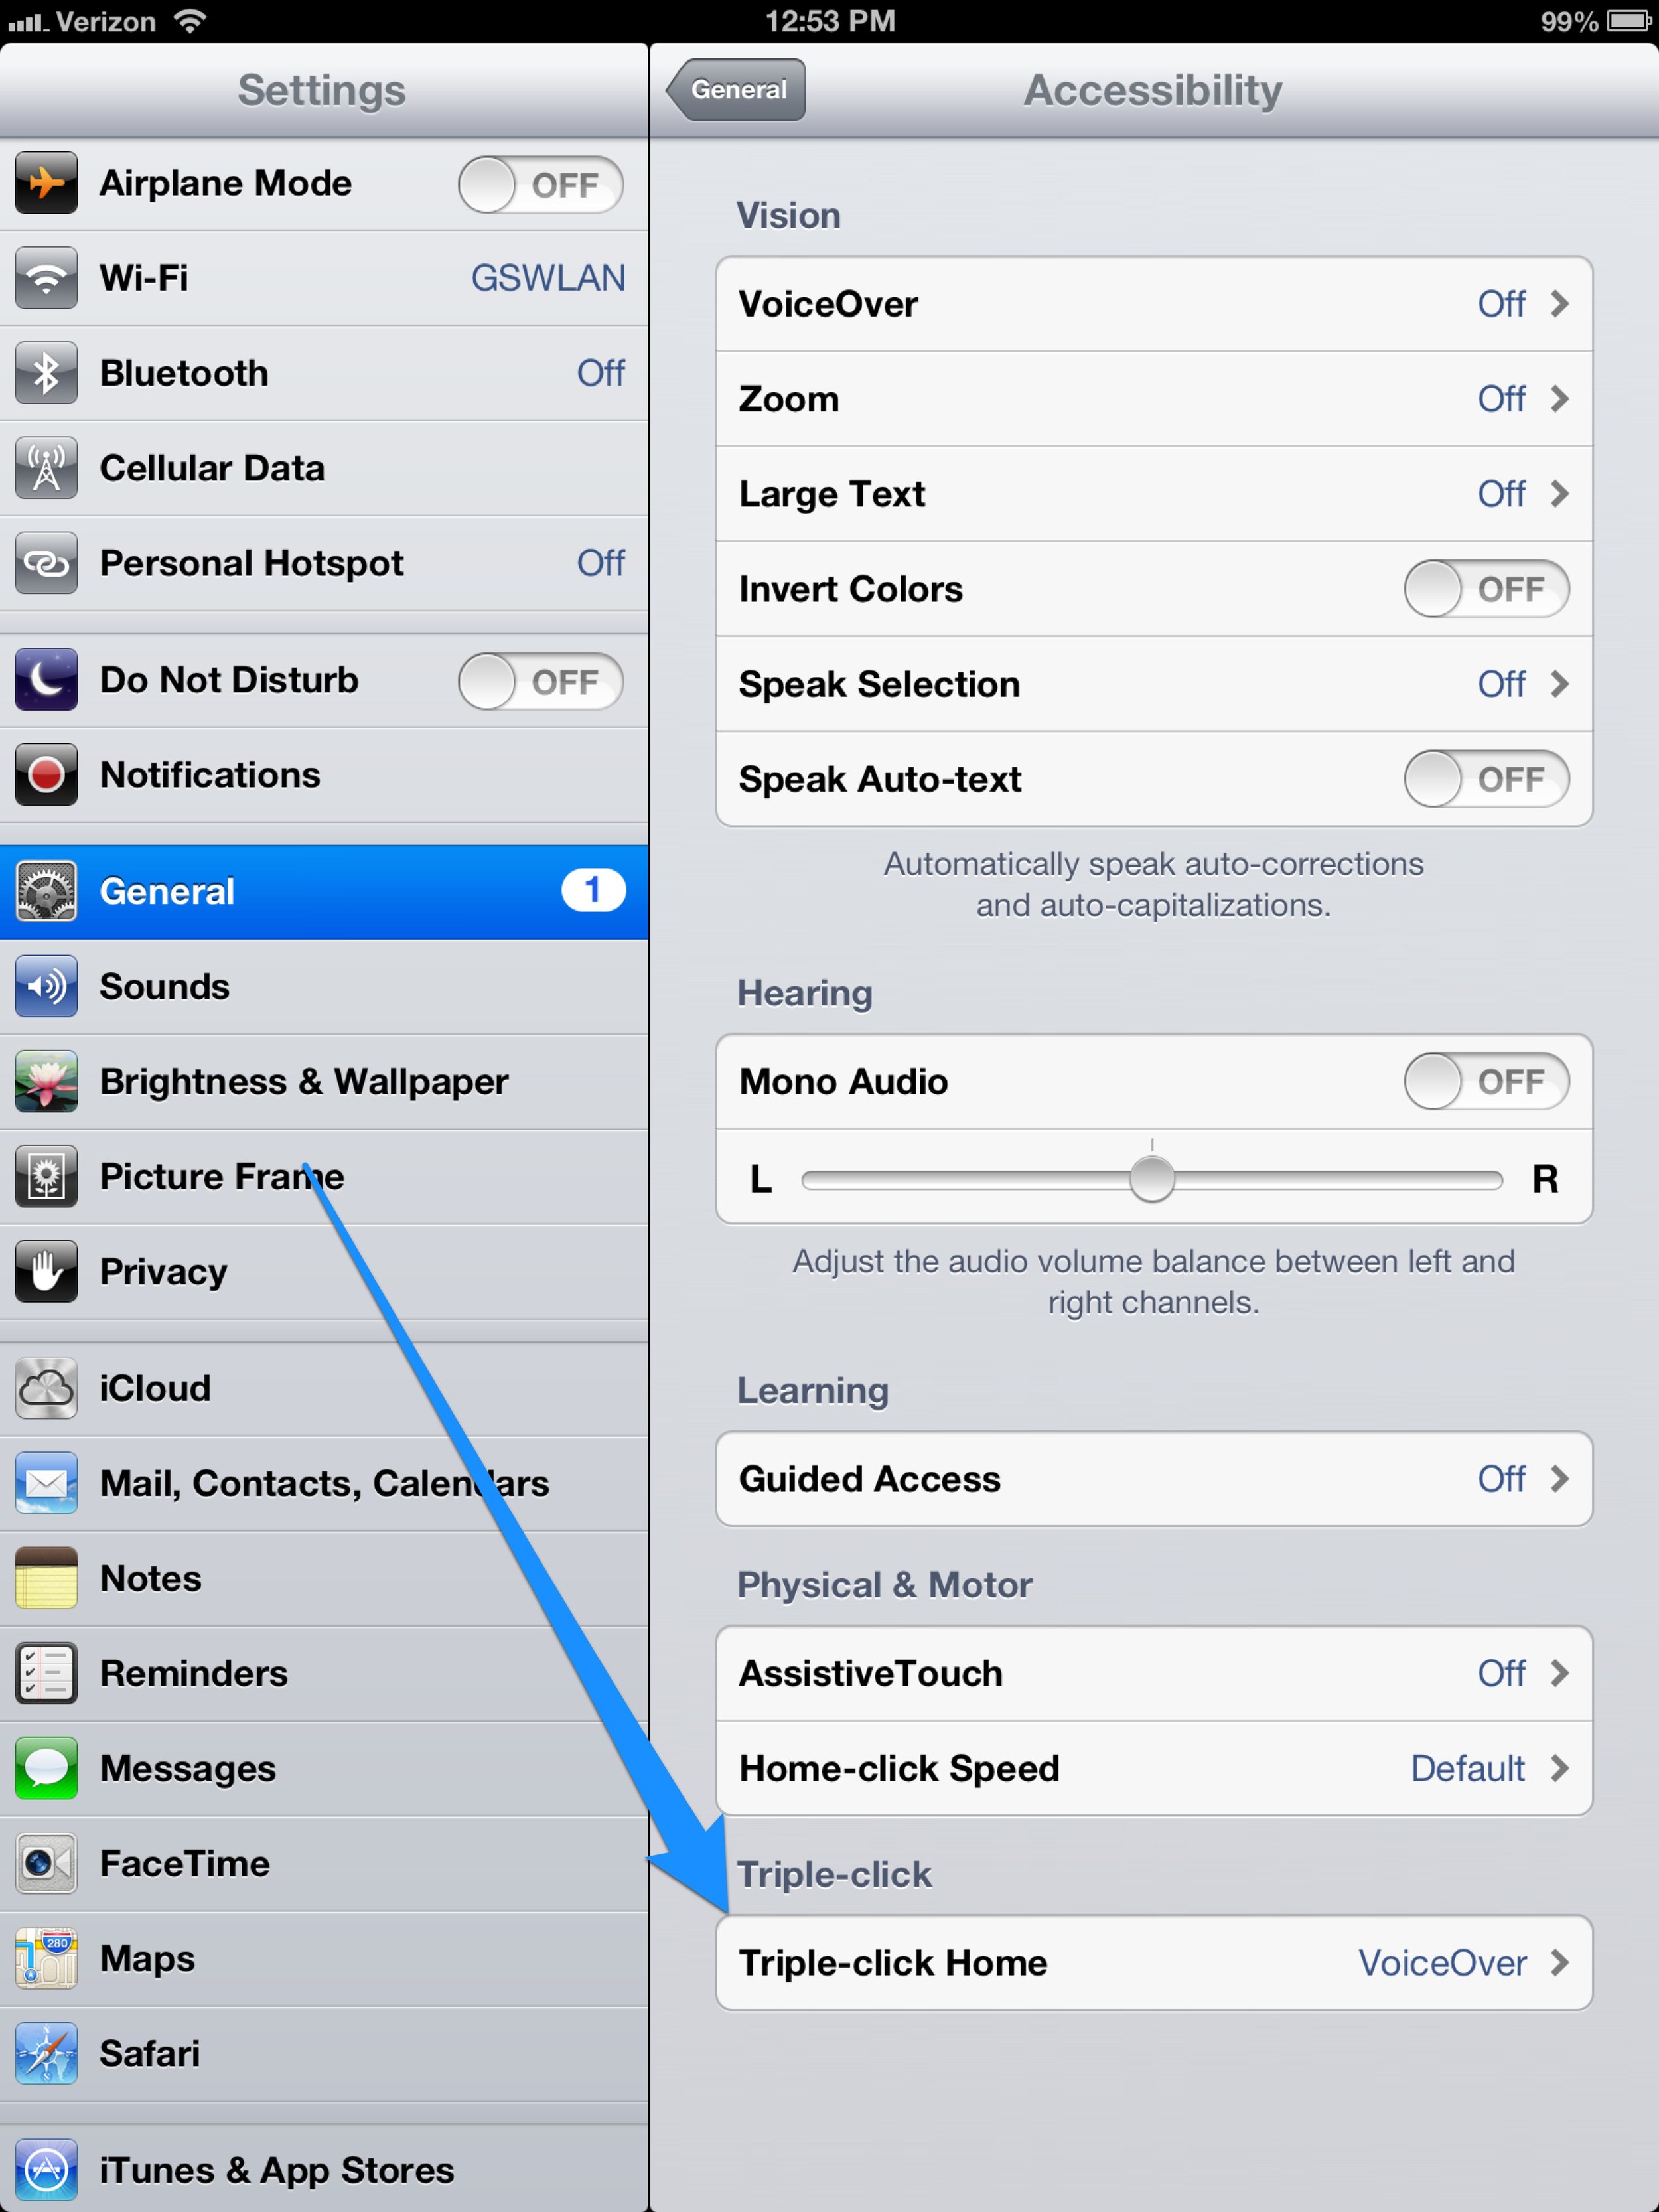
Next you need to enable VoiceOver in the iPad's Accessibility settings. Set it to trigger on a triple click of the iPad's home button but don't enable it yet.
Once that is done, set the remote to "Accessibility Mode" on the slider on the back right side. The other modes are useful for multimedia or using the remote to present with your Mac. I keep it in my bag as a back up for these purposes but so far all I really use this remote for is to present with the iPad.
Now go find your presentation in Keynote on your iPad and open it up. Then triple-click the home button on the iPad to enable VoiceOver. You'll want to turn down your iPad volume at this point.
That's it. Now you can move forward and backward in your presentation with the remote. That has always been a major gripe for me and now it is fixed with this hacky (yet effective) solution.


